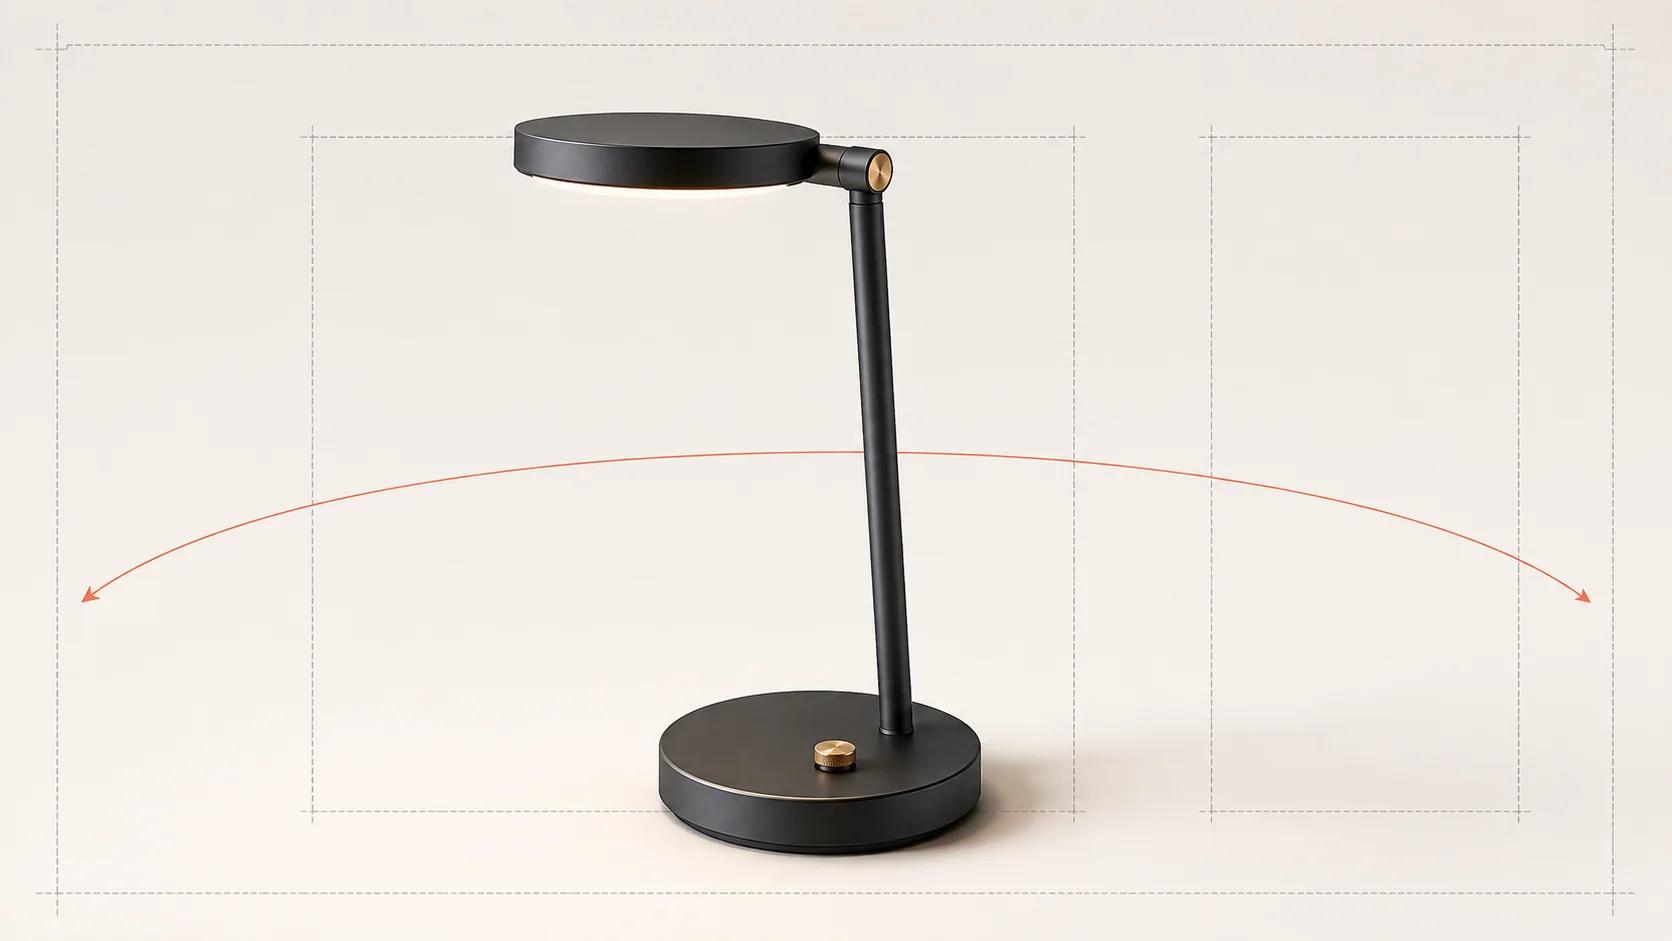
A complete product-render shot list is not a request for "ten good images." It is a map from buying questions to specific frames. Each row should name the image's job, the product state, the camera and composition, the intended placements, the crop variants, and the test that closes review.
For most digital launches, five shot families cover the essential questions: hero, detail, feature, scale and context. The number of final files grows when those source shots branch into different ratios, backgrounds, variants or channel rules. Plan that branching openly. Otherwise a late request for a square marketplace image or a narrow mobile hero looks like a small export when it may require a different composition.
This guide provides the working template in the article. Copy the annotated table into a spreadsheet, brief or production board and replace the example portable task lamp with your product. It is a planning tool, not a claim that every launch needs the same number of renders.
Build a shot system, not a render count
Start with the approved launch destinations, but do not use them as the shot names. "Website image" says where a file goes; it does not say what that image must explain. Name the visual job first, then attach the destinations that need it.
Keep three levels distinct:
- A shot family describes the question: recognize the product, inspect a detail, understand a feature, judge scale or see context.
- A source shot is an art-directed camera, product state, lighting setup and scene from which one or more files may be produced.
- A channel output is a delivered crop or version with its own ratio, dimensions, background, copy-safe area and technical rule.
This article assumes the decision to use rendering has already been made. If the physical-product route is still open, use the live Rendering vs Photography Business-Case Calculator to frame the cost and reuse assumptions, then review when CGI wins and when product photography remains the better fit. If the open question is software versus managed production, keep that evaluation separate with the software-versus-professional-production guide rather than folding it into the shot list.
The five shot families
The five-family model below is an editorial framework for launch planning. It is not a formal marketplace taxonomy. It does, however, have a useful external check: the current GS1 product-image standard distinguishes primary imagery from detail or technology, application, ambience or mood, and size-comparison image types.[1]
| Family | Question it answers | Typical frame | Product evidence to protect | Common planning failure |
|---|---|---|---|---|
| Hero | What is the product, and what should I notice first? | Clean front or three-quarter view with a deliberate silhouette | Correct revision, defining geometry, finish hierarchy and brand artwork | One dramatic angle hides the control, port or form that identifies the product |
| Detail | What is it made from, and how is this part resolved? | Tight material, interface, join, label or construction view | Texture scale, edge treatment, fit, finish, graphics and small geometry | A close crop magnifies a detail that was never approved at that viewing distance |
| Feature | What changes, moves, opens or connects? | Product in a meaningful state, or a restrained sequence of states | Pivot, range, removable part, control state or included component | Decorative callouts replace a clear view of the feature itself |
| Scale | How large is it in terms I can understand? | Known reference, dimension-led composition or product beside a controlled prop | Approved dimensions, believable contact and an unambiguous reference | Perspective or an unspecified prop implies a size the product record cannot support |
| Context | Where does it belong, and what surrounds normal use? | Product in a bounded environment with only necessary props | Placement, clearance, orientation, use state and included versus non-included items | The setting becomes the subject or implies unsupported accessories and outcomes |
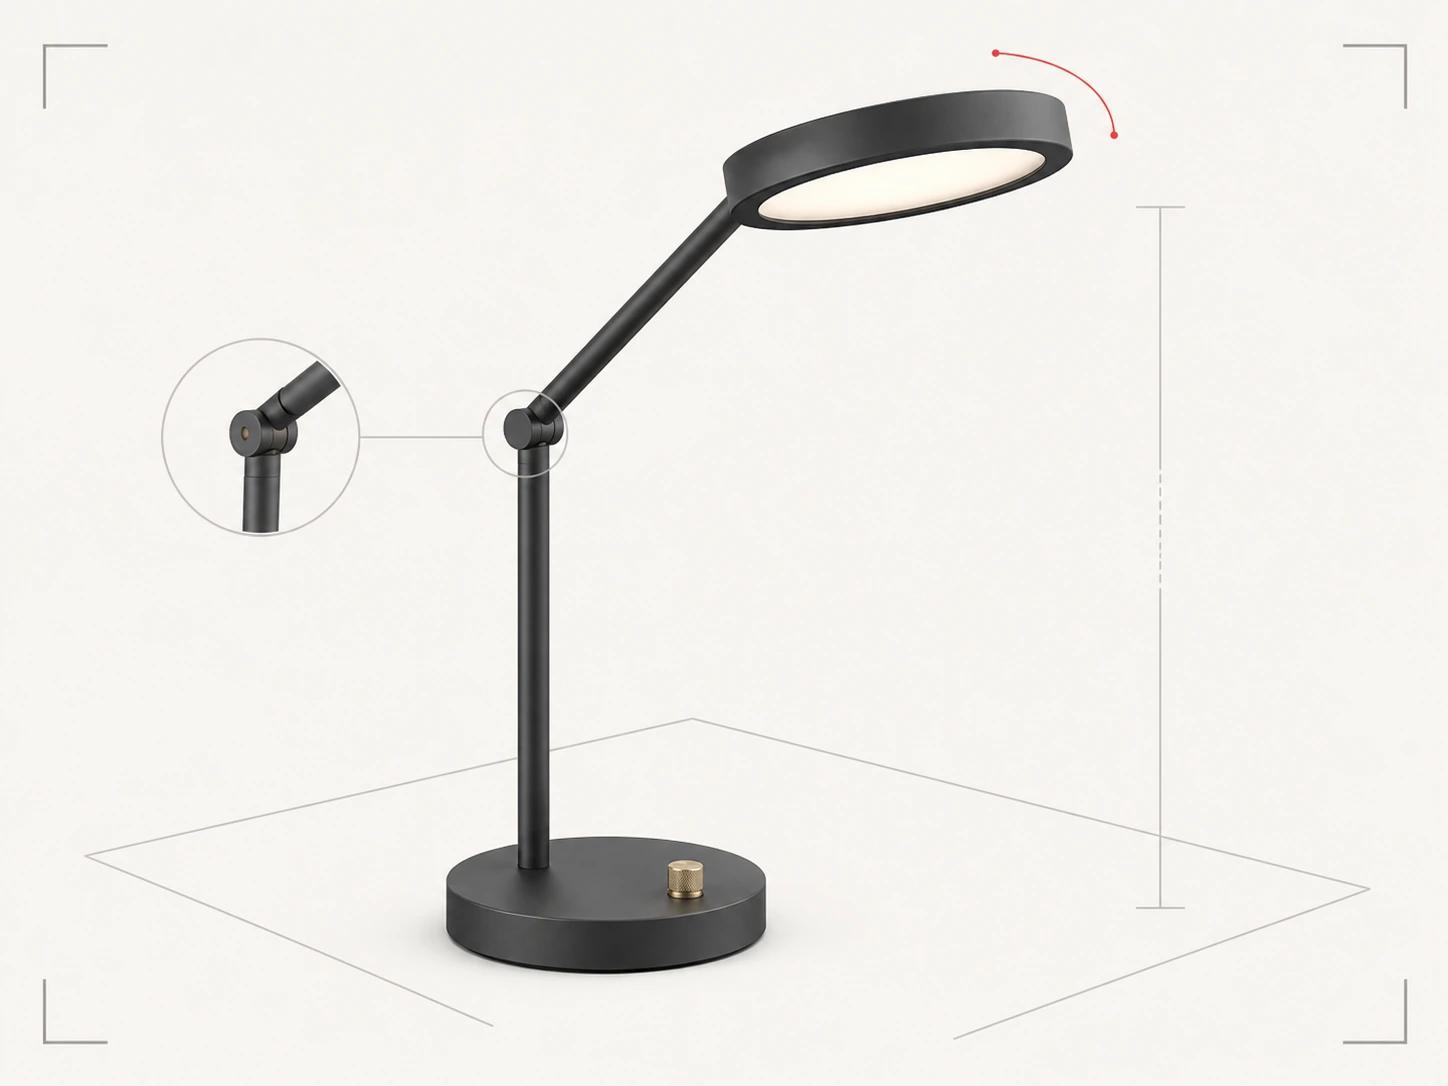
A family may need more than one source shot. A finish-led product can justify two detail frames; a product with no moving parts may need no separate feature state. Completeness means every important question has an owned image, not that every family receives an equal quota.
Separate source shots from channel outputs
A large, content-rich base image can support derivatives, but GS1 explicitly notes that there is no one-size-fits-all product image.[1] Treat reuse as a planning hypothesis, not an automatic crop instruction.
Give source shots stable IDs such as H01, D01 and C01. Give each derived output a suffix, for example H01-WIDE, H01-SQUARE and H01-MOBILE. If the product becomes too small, a defining feature disappears or the copy-safe area collides with the silhouette, promote that output to a separate source shot. It now needs its own camera and composition approval.
Track variants separately from views. A black and a white lamp rendered from H01 are two product states from one approved camera. A closed lamp and an extended lamp may be separate feature states even if the camera is locked. This distinction makes the matrix countable without pretending that every output has the same production effort.
The annotated launch shot-list template
The example uses an original portable task lamp: a circular weighted base, slim vertical stem, hinged disc head, charcoal powder-coated body and one brass-toned control. Replace the example details with approved product facts. Do not copy its shot count blindly.
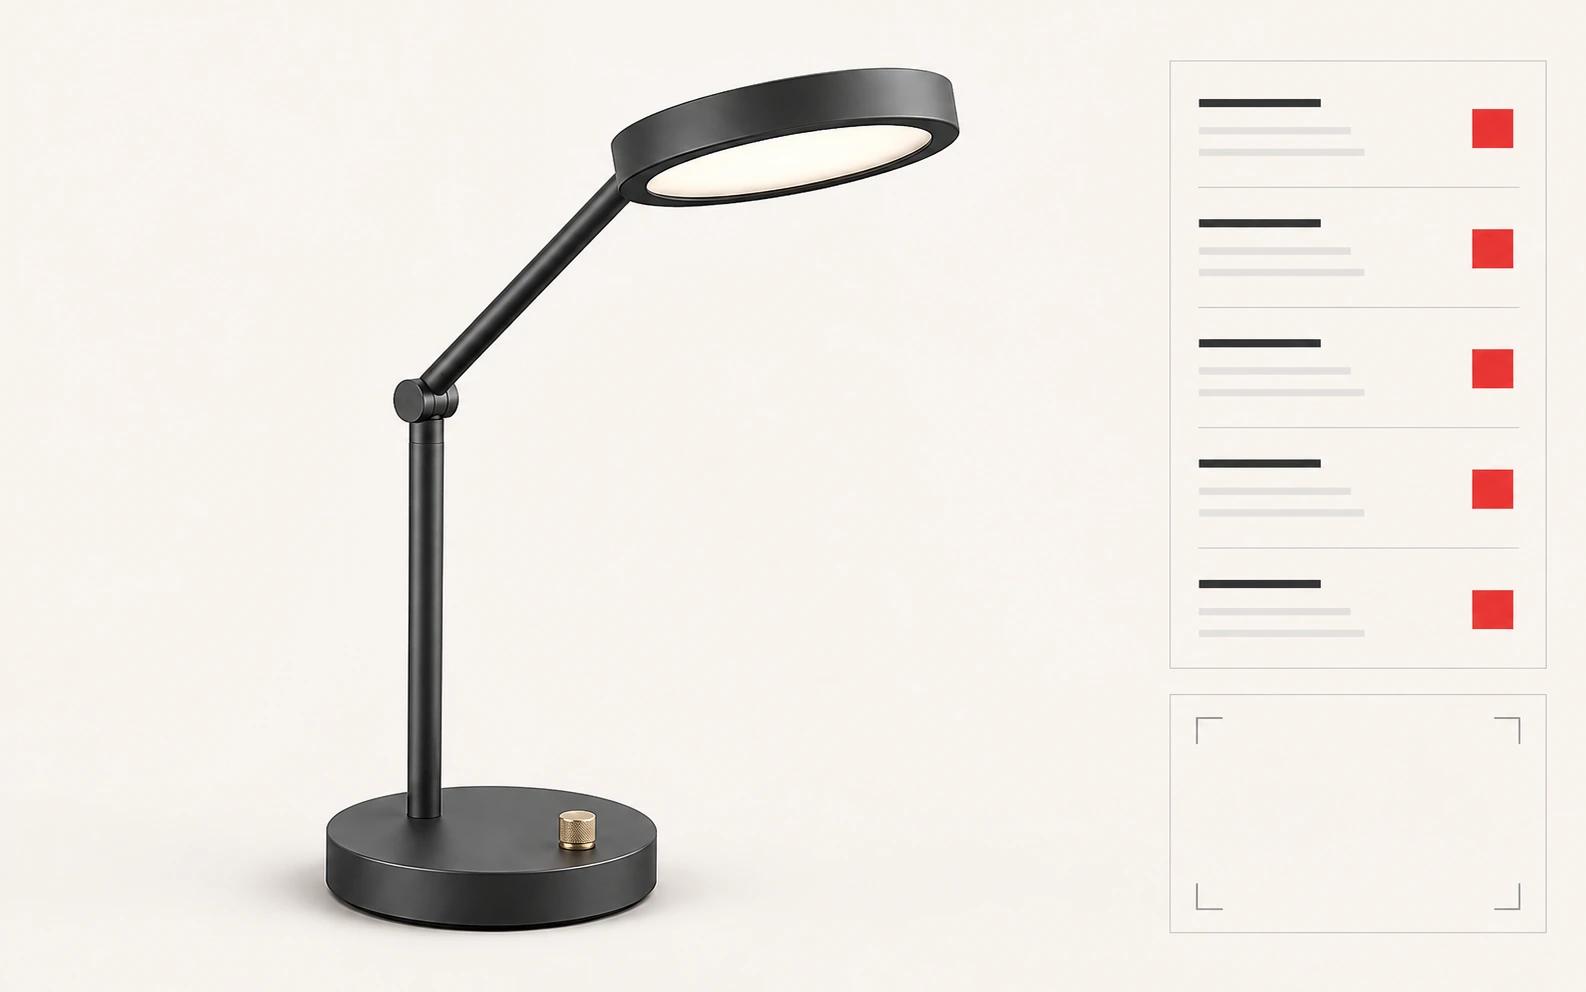
| ID / priority | Family and job | Product state and frame | Planned outputs | Acceptance annotation |
|---|---|---|---|---|
| H01 / Must | Hero: identify the product and lead with the adjustable head | Powered off; three-quarter front view at a natural viewing height; clean warm-white ground; head turned enough to reveal the hinge | Product-page lead, launch-page landscape, square catalog tile | Entire silhouette is readable; base, control, hinge and head match the approved revision; square crop keeps clear air around the product |
| H02 / Must if a feed requires it | Hero: factual isolated view | Powered off; near-front view; neutral light; no props; camera chosen to minimize shape distortion | Marketplace or product-feed main image, transparent cutout if allowed | Product is complete in frame; background and occupancy follow the named destination; no overlay, border or non-included prop |
| D01 / Must | Detail: prove material and construction | Tight view of hinge, fastener and powder-coated edge under broad light | Product-gallery detail, launch-page supporting image | Texture scale is believable; edge radius and fastener type match source evidence; crop does not imply a different material |
| D02 / Conditional | Detail: make the control legible | Close three-quarter view of the brass-toned control and its physical relationship to the base | Product gallery, support or feature module | Control shape, markings and position are current; reflection does not hide the interface; text is legible at delivery size if present on the product |
| F01 / Must | Feature: explain adjustment | Lamp extended to its approved working position; hinge profile visible; no motion blur or floating callout cloud | Feature section, product-gallery alternate | State is physically valid; pivot and clearances are correct; the frame explains adjustment without showing impossible intermediate geometry |
| S01 / Must when size is a buying question | Scale: make footprint and height understandable | Lamp beside one specified A5 notebook on the same plane, with restrained dimension ticks outside the product | Product gallery or specification section; clean version without ticks if required | Lamp dimensions come from the approved record; notebook is identified as a scale reference and not included; perspective does not exaggerate height or footprint |
| C01 / Must | Context: show normal placement | Lamp on a compact desk with one notebook and one pencil tray; no person; enough rear and side clearance | Launch page, product gallery, editorial crop | Product remains dominant; props cannot be mistaken for included items; placement, cable or cordless state and contact shadow are credible |
| C02 / Expansion | Context: show the lit state without promising performance | Same approved lamp in a restrained evening desk setting; visible pool of light with no numerical brightness claim | Campaign or editorial supporting image | The illumination is an art-directed depiction, not a measured output claim; product finish and shape remain readable; no unsupported battery-life or brightness message |
The annotations are the useful part. They convert taste into a reviewable condition. Add a column for the approving owner if engineering, product and brand decisions close through different people.
Download the annotated product render shot-list example (XLSX). The workbook includes the 16 example shots, acceptance checks, owners, notes and a status dropdown for review.
Turn channel rules into output rows
Channel requirements should be copied into the relevant output row with the destination and review date. Do not generalize one platform's rule to every image.
Google Merchant Center currently requires its main image to show the entire product accurately with minimal or no staging, and it prohibits promotional content that covers the product and image borders.[2] Amazon's current US main-image guide requires a pure-white background, the full product in frame, the product at 85 percent of the image, and no confusing props, text, borders or watermarks.[3] Those are concrete reasons for H02; they are not reasons to flatten the art direction of H01, D01 or C01.
Record the rule as an acceptance test, not a vague note such as "Amazon version." Platform documentation changes, category exceptions exist, and an upload being accepted does not prove that the image explains the product well. Assign someone to recheck current requirements before release.
Plan crops before final rendering
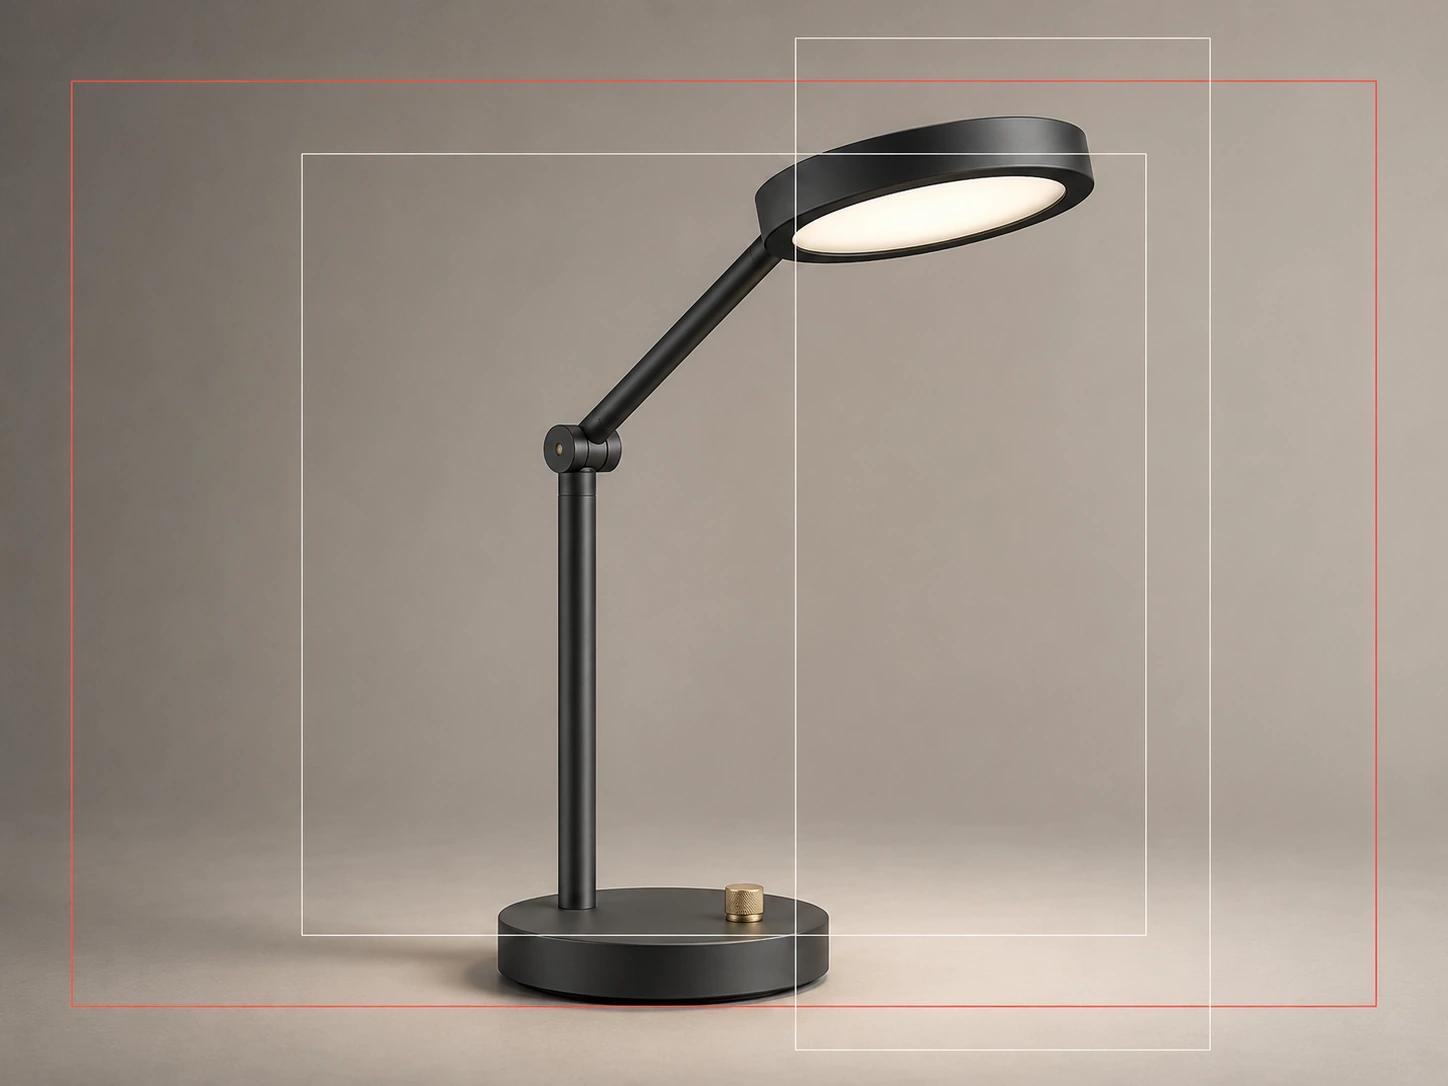
Test rough crops while cameras are still cheap to change. Place landscape, square and portrait frames over the blockout and inspect the smallest intended display size. Protect the defining feature, not merely the center of the canvas.
Shopify's current theme guidance treats a tighter mobile crop and a landscape desktop hero as different art-directed images when the compositions need to change.[4] That distinction belongs in the shot list. If H01-WIDE and H01-MOBILE need different cameras, list both before final rendering. If they share a camera, record the safe area and export them as controlled derivatives.
Do not bake campaign copy into the base product render unless the destination requires a fixed composite. Keep clean art and copy-ready derivatives separately named so a regional or message change does not force a new product render.
Write acceptance criteria before rendering
Every row needs a visible pass condition. Use five checks:
- Product truth: revision, dimensions, components, finish zones, graphics and valid state.
- Image job: the hero identifies, the detail resolves, the feature explains, the scale anchors or the context locates.
- Composition: camera, margins, product occupancy, hierarchy, background and required copy-safe area.
- Destination: aspect ratio, dimensions, background policy, overlay policy and any current platform rule.
- Delivery: filename, product and variant ID, format, color-profile requirement, transparency policy and approval owner.
Write alt-text intent in the shot row while the image's purpose is clear. W3C guidance for informative images uses text alternatives to convey useful visual information that surrounding text does not already explain.[5] For F01, "Charcoal task lamp extended at its hinge so the disc head sits above the work surface" carries more information than "product feature image." Do not stuff the primary keyword into every alt field.
The broader 3D product rendering process, inputs and deliverables owns source readiness, production gates, revision control and final-package detail. The shot list should reference those decisions rather than duplicating the whole production workflow.
Build the coverage matrix before approving finals
Make a second, compact table with source-shot IDs down the left and required product states across the top. Mark each cell required, shared, not needed or blocked. Add the output suffixes only after the source coverage is correct.
| Source shot | Charcoal | White | Extended state | Mobile-specific camera |
|---|---|---|---|---|
| H01 | Required | Required | Not needed | Shared if the hinge remains clear |
| D01 | Required | Conditional | Not needed | Not needed |
| F01 | Required | Required | Required | Separate only if portrait framing hides the base |
| C01 | Required | Conditional | Required | Shared after a small-size crop test |
This catches two expensive ambiguities: a variant that has no owned frame and an output described as "shared" before anyone has tested the crop. It also keeps the article's eight example rows from becoming eight times every color by accident.
Cut the list without breaking it
When scope must shrink, protect the must-have question in each relevant family. Remove redundant angles before removing evidence. A second beauty view is easier to cut than the only image that explains a control, scale or valid product state.
Use three priorities:
- Must: without it, a material buying question or destination requirement has no image.
- Conditional: required only for a named variant, feature, category rule or placement.
- Expansion: useful campaign depth after the core set has passed.
Reclassify rather than quietly deleting. If a scale shot moves out, record that the launch will rely on dimensions in text. If context moves out, do not ask the hero to become a compromised half-lifestyle image. A shorter system can still be coherent when its omissions are explicit.
Hand off one row per decision
Before production begins, confirm that every row has one stable ID, one visual job, one valid product state, one controlling source, named outputs and a pass condition. Attach reference material to the product fact it controls. A mood reference can guide light; it cannot approve an unknown hinge or finish.
Review the full set as contact sheets at the intended crops, then accept final files against the matrix. If you need a production partner to turn this shot system into scoped cameras, product states and channel-ready outputs, review the 3D product rendering service and bring the completed table.