
A 3D product rendering project turns approved product information into controlled still imagery. The work may include preparing or rebuilding geometry, defining materials, choosing cameras and lighting, producing review renders, retouching finals and packaging files for the channels that will use them. The exact path depends on what already exists and what the images must prove.
The safest way to brief the project is to work backwards from the delivery package. Decide which products and variants are in scope, where each image will appear, what must be visually accurate, who can approve those facts and which editable assets are expected at handoff. Then split reviews into decision gates. Approve form before finish, finish before the whole shot system, and the shot system before expensive final output.
This buyer-side framework does not claim that every studio uses the same stages. Use it to expose assumptions and agree a project-specific workflow.
What 3D product rendering includes
A rendered still is a two-dimensional output from a digital scene. That scene contains a product model, material definitions, cameras, lights and output settings. It may also contain a background or a complete environment. Post-production can combine render passes, adjust the image within the approved art direction and prepare channel-specific exports.
Modeling and rendering are related, but they are not interchangeable. Modeling establishes the product's shape, assembly and visible detail. Rendering establishes how that model appears in a particular image. A clean engineering file can still need translation, surface cleanup, visible-detail work and material zoning before it is ready for commercial imagery. A beautiful render cannot repair an unapproved proportion or an obsolete product revision.
The pillar decision is simple: define product truth, image intent and handoff terms before anyone judges polish. For the broader commerce context around stills, animation, web viewers, AR and configurators, read the commerce team's guide to 3D product visualization. This article stays with the production and approval system.
Define the output before collecting inputs
Start with one scope sentence that a producer, product owner and creative lead can interpret the same way:
Create an approved set of still renders for a named product revision, covering a fixed shot and variant matrix, delivered to stated channel specifications, with listed masters and usage rights.
Every missing noun in that sentence becomes a question. The answers below form the minimum output map.
| Output decision | What to state | Acceptance question |
|---|---|---|
| Product scope | SKU, model, revision, components and included variants | Can each rendered state be matched to an approved product record? |
| Image purpose | Product page, campaign, catalog, pitch, packaging or internal approval | What decision should the viewer make from this image? |
| Shot system | Named views, details, compositions and background treatments | Is every requested image represented once in a shot matrix? |
| Channel frame | Pixel dimensions, aspect ratio, crop-safe area and any platform rule | Can the same composition survive every required crop, or are separate cameras needed? |
| Product truth | Dimensions, finishes, artwork, visible mechanisms and allowed simplifications | Which source wins when CAD, drawings, photos and a sample disagree? |
| Final files | Flattened exports, transparency, masters, passes, source scene or archive manifest | Which files are included, and which remain production working files? |
| Approval | Named approver for product accuracy and named approver for art direction | Who can close each decision gate? |
A shot count without this map is weak scope data. One camera exported twice is different from two art-directed compositions; an approved color variant is different from a new finish requiring physical matching. Record those distinctions before requesting an estimate. The companion guide to what a 3D product visualizer should deliver goes deeper into deliverables, approval ownership and handoff boundaries.
Build a usable input pack
The best input pack is not the largest folder. It is the smallest set of current, authoritative files that lets the production team resolve the product without guessing. Add a short index so that a reviewer can tell what each file controls.
| Input group | Send this | Mark this explicitly | Approval test |
|---|---|---|---|
| Product identity | SKU, product name, revision code and dated change notice | Current revision and superseded files | The scope and source folder name the same revision. |
| Geometry | Native CAD where permitted, neutral exchange file, existing mesh or scan | Units, coordinate orientation, hidden parts, moving parts and known defects | Key dimensions and silhouette match the approved design source. |
| Drawings and dimensions | Orthographic drawings, critical dimensions, exploded views and detail callouts | Which dimensions are controlling and which are nominal | A reviewer can resolve any visible proportion without estimating from a photo. |
| Physical reference | Neutral photos from several angles, close-ups and a sample when available | Lens distortion, prototype differences and features that should not be copied | Photos explain appearance without silently overriding the approved design. |
| Materials and finishes | Finish schedule, manufacturer reference, swatches, measured values or approved samples | Substrate, coating, gloss, texture scale, direction and variant mapping | Each visible zone has one approved finish source. |
| Graphics and labels | Vector artwork, fonts or outlined type, dielines and placement dimensions | Version, legal copy status, print effects and areas that may not be altered | Artwork is current, legible at the final crop and correctly placed. |
| Creative direction | Brand guidance, composition references and a note on what each reference demonstrates | Elements to emulate, elements to avoid and required negative space | The references express a decision rather than a vague preference. |
| Delivery rules | Shot matrix, sizes, aspect ratios, background, transparency, color space and naming | Channel owner and final technical approver | Every final can be checked without reopening the creative brief. |
Treat CAD as evidence, not as a finished render asset
CAD can be the strongest source for dimensions and assembly, but conversion still contains choices. Autodesk's own DWG/DXF import controls cover unit rescaling, geometry translation and surface deviation; smaller surface-deviation values produce a more accurate mesh with more faces.[1] The page also notes that imported mesh objects may require texture coordinates before mapped materials can render correctly.[1]
Ask the studio to confirm the incoming units, the chosen revision, visible-part completeness and the plan for converted geometry. Do not use a screenshot of an engineering viewport as proof that the asset is ready for close-up imagery.
Make conflicts easy to resolve
Create a one-page source hierarchy. For example: the released CAD controls form, the dated finish schedule controls color and coating, the approved label artwork controls graphics, and the physical sample controls a named texture characteristic. If two sources conflict, log the conflict and assign an owner. A production artist should not have to decide whether the sample or the drawing represents the launch product.
Use a simple readiness status:
- Ready: source is current, readable and owned by an approver.
- Conditional: source is usable with a written assumption that must be approved.
- Blocked: a product fact cannot be resolved or a required right is missing.
Use six decision gates
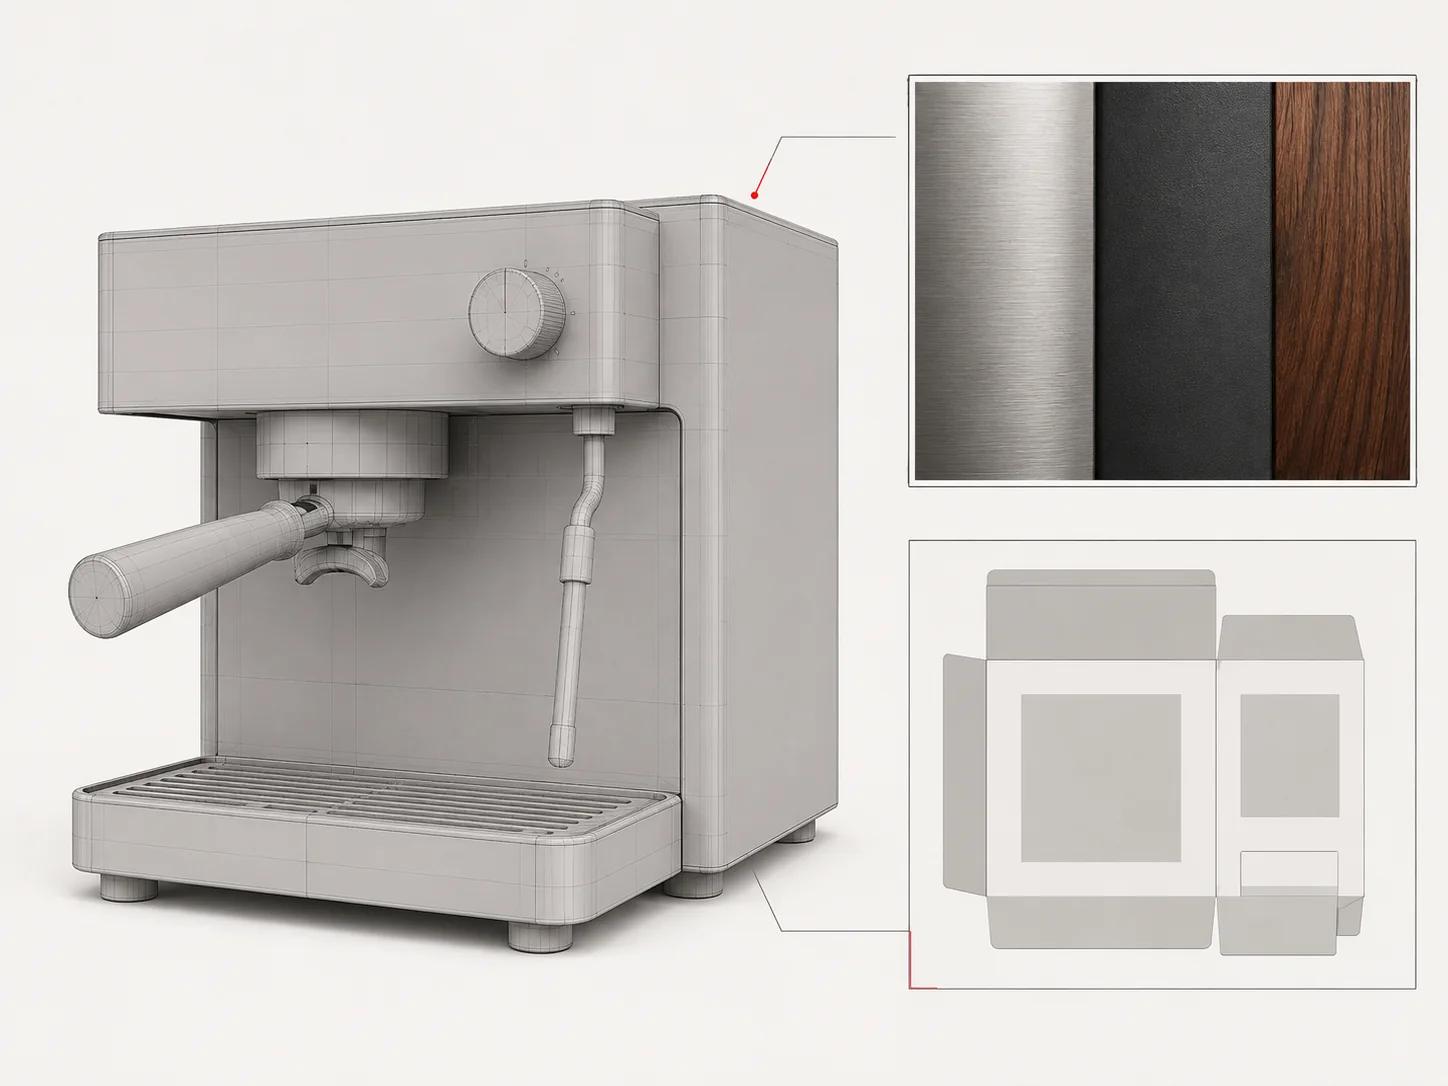
A stage gate prevents late feedback from reopening decisions that were supposedly settled. The following workflow is an original buyer-side framework for this article. Adapt the names and number of rounds to the contract; do not treat it as a universal production standard.
| Gate | What the studio shows | What the buyer approves | Feedback that belongs here |
|---|---|---|---|
| 1. Scope lock | Output map, shot matrix, source index, assumptions and exclusions | Product revision, intended uses, deliverables and decision owners | Missing views, wrong variant count, unclear channel requirement or absent source |
| 2. Geometry lock | Neutral blockout or clay views from diagnostic cameras | Silhouette, proportions, assembly, visible detail and articulation | Wrong radius, gap, thickness, part position, seam or omitted component |
| 3. Material lock | Controlled material studies on the approved product zones | Finish identity, texture scale, direction, reflectance character and artwork | Coating too glossy, weave too large, grain direction wrong or label placement off |
| 4. Look and camera lock | Representative lit shots at review resolution | Camera, composition, lighting direction, background and crop safety | Camera too low, highlight hides a feature, shadow too dense or layout lacks copy space |
| 5. Set and variant lock | Contact sheet covering all required shots and variants | Consistency across the complete image system | Wrong mapping, inconsistent framing, missing combination or a repeated exception |
| 6. Final acceptance | Final-resolution images and the delivery manifest | Technical conformance, approved corrections and package completeness | Export defect, profile mismatch, halo, clipping, naming error or missing file |
Gate 1: lock the decision system
The output is a short production record, not a moodboard alone. It identifies the product revision, requested images, input status, assumptions, exclusions and approvers. Write every conditional input as an assumption that can be accepted or rejected.
Gate 2: approve form without finish
Neutral renders remove the distraction of color and gloss. Review the product against controlling dimensions and product references. Inspect hero angles and any detail camera that will expose small geometry. If an internal part will never be visible, the contract can say so. If a transparent housing or cutaway will reveal it, the model requirement changes.
Do not spend this round discussing whether the product feels "premium." Point to the part, name the source and state the correction. Geometry approval should produce a dated snapshot or review record.
Gate 3: approve material evidence
A finish name is not a visual specification. "Black metal," "soft-touch plastic" and "light oak" leave important variables open. Tie each material zone to a sample, finish code, supplier data or an approved reference, then review it under a controlled lighting setup that makes the surface behavior visible.
This gate confirms product appearance, not the final campaign mood. A material may need both a broad highlight and a close view before a reviewer can judge roughness, texture scale and direction. Graphics should also be checked against their approved artwork and placement dimensions.
Gate 4: lock the visual direction
Now review the representative shot as an image. Check the camera's effect on proportions, the hierarchy of features, contact with the surface, background value, reflections and crop safety. Confirm whether variants must share identical cameras and lighting or whether a campaign image may be art-directed separately.
Color decisions need a named pipeline and viewing assumption. Blender's documentation describes color management as the mechanism that helps pipeline stages interpret colors correctly across displays.[2] ICC profiles provide the information used to convert between native device spaces and device-independent spaces, and embedded profiles help receiving systems interpret the associated color data.[3] This does not make two uncalibrated screens agree. It does mean the delivery specification should name the intended color space, profile and approval conditions instead of relying on "looks right on my laptop."
Gate 5: inspect the whole system
Review the complete range on a contact sheet with stable file IDs. Look for camera drift, inconsistent product scale, missing variants, mapping errors and accidental changes to approved geometry.
For commerce-specific format planning, continue to the 3D product visualization channel guide. It owns the deeper stills, animation, viewer, AR and configurator decision. This pillar only establishes that the full matrix must be reviewed before final output.
Gate 6: accept files, not promises
Compare delivered files with the output map. Inspect a sample from each deliverable class at 100 percent, verify dimensions and profiles, test requested transparency and reconcile filenames against the manifest. Approval of a review JPEG does not accept a different final export.

Review the right decision at the right stage
Good feedback names the mismatch and source of truth. "The top housing radius does not match drawing A-204, detail C" is actionable. "Make it more realistic" leaves the expected change undefined.
Use this note format for every item:
- File and view: stable review ID, not "the second image."
- Location: part, material zone or marked region.
- Issue: what differs from the approved source or intended visual decision.
- Authority: drawing, sample, artwork version or named approver.
- Requested result: correction or decision, written without prescribing software steps.
- Scope: one image, all views, one variant or the complete set.
- Priority: blocking, required before final, or optional exploration.
Consolidate comments through one project owner. Conflicting notes from engineering, brand and e-commerce should be resolved before they reach production. Keep explorations separate from corrections. A request to compare two camera directions is useful, but it should not be disguised as an error in an already approved camera.
Control revisions with a change record
The word "revision" can hide four different events. Classify each request without inventing a universal allowance or price.
| Change class | Meaning | Example | Handling question |
|---|---|---|---|
| Correction | Output does not match an already supplied and approved source | Label is 4 mm too high against the controlling placement drawing | Which approval record and source establish the mismatch? |
| Clarification | An unresolved assumption receives an authoritative answer | Previously unknown rear-port finish is now confirmed as matte graphite | Was the assumption logged, and which views or variants are affected? |
| Direction change | A decision changes after its gate was approved | The approved three-quarter camera is replaced with a frontal composition | Which downstream work must be reopened? |
| Scope addition | The buyer requests a new output or product state | Add an exploded view and two unlisted colorways | Is this part of the existing matrix or a new deliverable? |
Maintain a change record with the request ID, date, requester, affected files, source, class, decision and approval state. This gives both sides the facts needed to apply the agreed revision terms.
Do not publish a generic promise such as "unlimited revisions" without defining the approval gates and scope boundary. It rewards vague briefing and still does not answer what happens when the product revision changes.

Specify a complete delivery package
"High resolution" and "source files" are not deliverable specifications. List each deliverable class, its intended use and the acceptance properties that matter.
| Deliverable | Use | Specify before production | Acceptance check |
|---|---|---|---|
| Flattened final stills | Web, presentation, catalog or campaign use | File format, pixel dimensions, aspect ratio, color space/profile, background, compression and naming | File opens, matches the approved final and conforms to every stated property. |
| Transparent cutouts | Layouts that need a separate background | PNG or another agreed alpha-capable format, edge treatment and shadow policy | Alpha is present, edges are clean and no unintended matte contaminates the product. |
| Print-intended export | Placed artwork for a defined print process | Final physical size, required pixel density, profile, bleed/crop context and prepress owner | Pixel dimensions support the intended size and the receiving designer confirms the profile. |
| Retouching master | Controlled downstream edits | Layered file format, bit depth, embedded/linked assets and which adjustments remain editable | Named layers are present and linked dependencies resolve. |
| EXR and render-pass package | Advanced compositing or relighting within agreed limits | Required passes, channel names, bit depth, compression, color space and compositing notes | Channels load in the destination application and reconstruct the approved combined result where contracted. |
| Shot and variant manifest | Handoff and completeness control | Stable ID, product revision, camera, variant, dimensions, profile and final filename | Every scoped output maps to one delivered file. |
| 3D source package | Future rendering, motion or asset reuse when explicitly purchased | Native scene, interchange files, textures, dependencies, software/version, license rights and exclusions | Package opens in the agreed environment and included rights match the contract. |
| Archive note | Future retrieval | Final approval date, superseded versions, checksums if required and retention responsibility | The accepted package can be identified without relying on inbox history. |
Render passes are intermediate image information such as diffuse color, lighting, depth or normals that can be extracted for compositing.[4] They are useful only when the receiving workflow knows which passes it needs and how they were built. OpenEXR is designed for high-dynamic-range, scene-linear image data and supports multi-part, multi-channel files with associated metadata.[5] That makes EXR a strong option for compositing masters, not an automatic requirement for every buyer.
PNG is a lossless raster format that can carry an optional alpha channel and color-space data.[6] It is a reasonable transparent-delivery option when the destination accepts it. The format name alone still does not establish dimensions, profile, edge treatment or whether a shadow is baked in.
For print, separate pixel dimensions from print resolution. Adobe defines image dimensions as the total pixel count across width and height, while printed resolution describes how densely those pixels are assigned to physical inches; changing the pixel count requires resampling.[7] Ask the designer or printer for the intended physical size and workflow rather than attaching a bare "300 dpi" label to an undersized file.
Receiving final stills does not imply ownership of the production scene, editable materials, stock assets, fonts, plug-ins or reusable models. If future reuse matters, state it at scope stage and make the source package an explicit line in the deliverable matrix.
Run a final quality check
Use this checklist on the final package, not only on a contact sheet:
- [ ] Product revision and variant IDs match the approved scope.
- [ ] Geometry corrections from the last approved review are present in every affected view.
- [ ] Materials, graphics and finish mapping match the approved material record.
- [ ] Cameras, product scale and margins are consistent where the shot system requires consistency.
- [ ] Required details remain visible after the final crops.
- [ ] Background, contact shadow and transparency follow the delivery rule for each file.
- [ ] Pixel dimensions, aspect ratios, color spaces, profiles and formats match the manifest.
- [ ] No clipping, noisy edge, denoising smear, unintended reflection, halo or visible intersection remains at delivery size.
- [ ] File names are stable, unique and traceable to the shot matrix.
- [ ] Layered masters, EXRs, passes or source scenes are present only where contracted and open in the agreed receiving workflow.
- [ ] Usage, editability, third-party dependencies and archive responsibility are documented.
- [ ] The final file count reconciles with the approved shot-and-variant matrix.
A reviewer should be able to accept the package without knowing which render engine produced it. The acceptance record should answer whether the product is correct, the imagery is approved and the files are usable for their stated destinations.
Copy this rendering brief structure
Use the headings below as a working brief. Delete anything that does not apply, but do not replace a missing decision with a generic adjective.
1. Project and owner
- Business, product owner and day-to-day review owner
- Product name, SKU, revision and target launch or review event
- Purpose of the imagery and the audience decision it should support
2. Product truth
- Controlling geometry source and units
- Critical dimensions and visible features
- Material and finish schedule
- Artwork versions and placement controls
- Known conflicts, provisional parts and prohibited assumptions
3. Image system
- Shot matrix with stable IDs
- Variant matrix and mapping rules
- Background, lighting and composition direction
- Crop-safe requirements and where each image will appear
- Required detail views, transparency or contextual scenes
4. Review and approval
- Product-accuracy approver
- Creative-direction approver
- Gate sequence and review-file format
- Consolidated feedback owner
- Change-record method and approved revision terms
5. Delivery
- File types, dimensions, aspect ratios and profiles
- Naming pattern and folder structure
- Transparent, layered, EXR/pass or print requirements
- Whether a source scene or reusable model is included
- Usage rights, dependencies, archive owner and acceptance method
6. Assumptions and exclusions
- Missing inputs and the temporary assumption for each
- Hidden/internal parts that will not be modeled
- Variants, scenes, crops or editable assets outside the scope
- Decisions that require a separate estimate or discovery step
If this structure reveals missing product facts, pause the affected gate rather than asking the artist to improvise. If the inputs, shot matrix and approvers are clear enough to scope, the 3D product rendering service page explains the commercial production destination.
Brief a project with the decision gates already visible
Send the current product revision, available source material, intended channels and required output matrix. The enquiry route preserves the approved F2 handoff and keeps the project discussion separate from this educational guide.